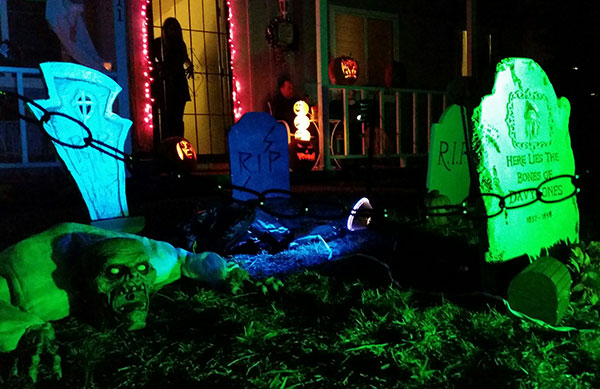
The first few years of my Halloween yard haunt I realized that people really liked taking pictures inside my graveyard. I guess I should take that as a compliment but the problem was that people were walking over tombstones, tripping over wires and god forbid if someone got burned from accidentally touching the hot flood lights. It’s just too dangerous to have people in there and I didn’t want them to break any of my props. I decided to solve the problem by building a gate to surround my Halloween yard haunt. I’ll show you how you too can build a simple yet effective Halloween cemetery gate.
Making The Poles
The first step was to find something to use as poles for my gate. I had found these really sturdy cardboard tubes that were used as packing support for my mom’s new TV. I liked how strong they were so decided to save them for some future project. Then it dawned on me they would be perfect for the cemetery gates.
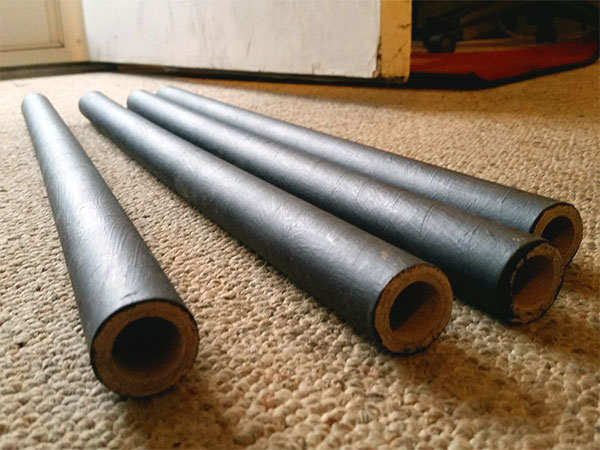
I decided that although PVC pipe would last longer, I’d just use these cardboard tubes to save money. What can I say, I’m cheap. I painted the outsides with black acrylic paint.
Adding Pointy Tips To The Gates
The next step was to create the pointy type thing that you see on some black rod iron gates. I had seen the idea on Pinterest and so I took a trip to the craft store to find a sheet of black felt.
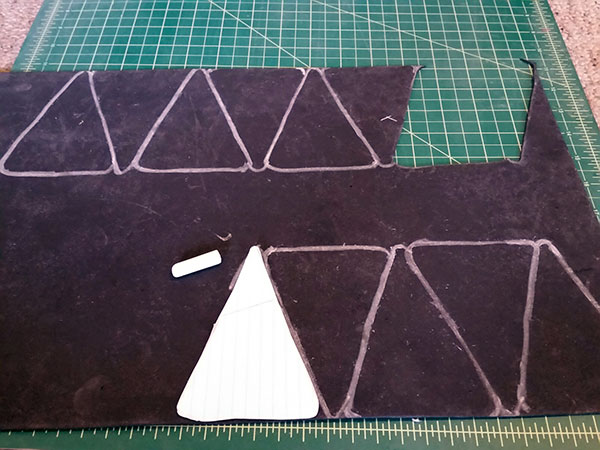
The next thing I did was to draw a triangle on a white piece of paper that I could use as a template. I used a piece of chalk to draw the outlines on the black felt to make it easier to see when you cut them out.
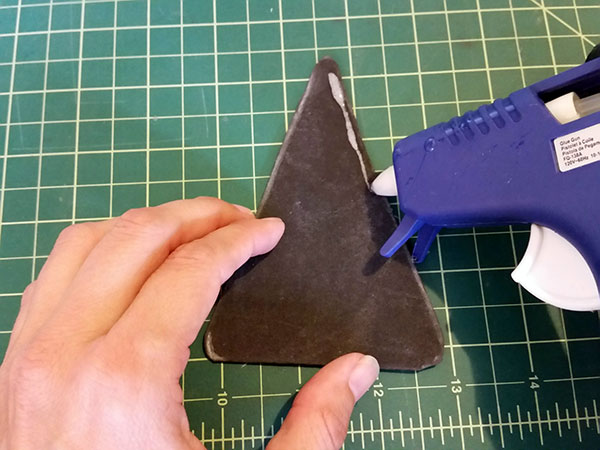
You’ll want to make 2 times as many triangles as you have poles. That way you can glue the two pieces together. I used a glue gun and only put glue on the two longer sides. That way the bottom of the triangle can still be opened.
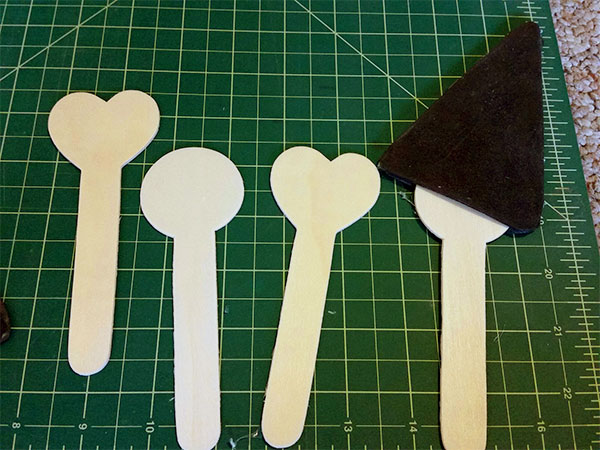
The reason for this is more apparent in the image above. I looked for popsicle sticks but found these thicker craft sticks in the children’s craft section at Joanne’s Crafts. (Craft… there I said it again!) They were the perfect width to fit inside the poles. After glueing two felt triangles together I slid them over the craft sticks.
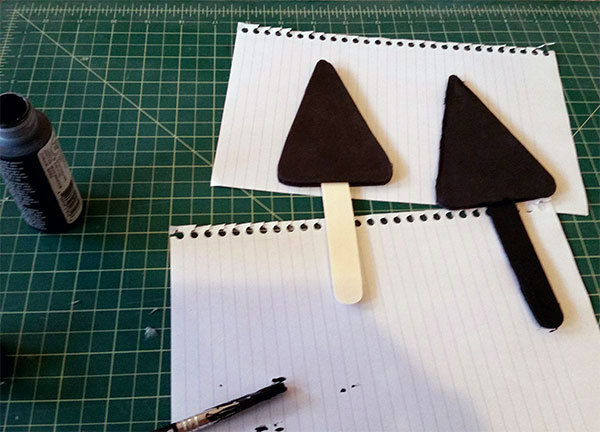
You can paint the bottom parts of the craft sticks to help them blend in with the black triangles and poles.
Putting It All Together
At this point I bet you can guess the next step. See how simple this is? Slide the craft stick into the opening in the tube. Do this for each pole. When you are all done stand your poles up and add any paint touchups you desire.
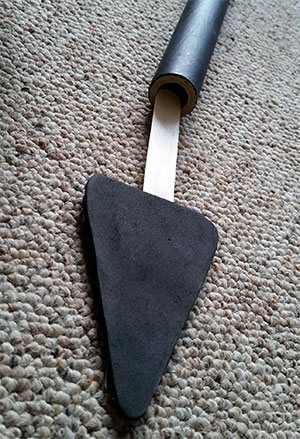
One thing I didn’t do but you certainly can is to add some brown colored paint to the poles and felt tops to resemble rust. You could also use a spray paint to only lightly add the effect to the poles.
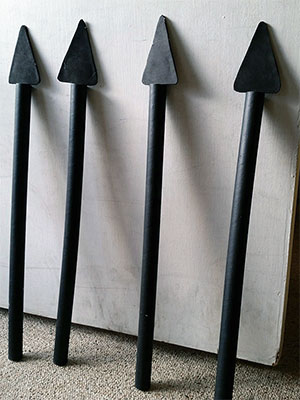
There are a few more things you will need to complete the fence. First go to Home Depot and buy some black chain. I selected the black thin chain so it wasn’t too heavy and I wouldn’t have to paint it. I had the employee cut me about 3 feet of length that would go in between each pole. The cool thing is that I didn’t need to drill any holes in the pole. All I did was slip the bottom of the craft stick through the end link of the chain and then slide it back onto the pole to secure it. It worked perfectly!
Don’t worry if the poles are a little bent or warped. When designing for Halloween you should welcome imperfections. It makes things look more old and lived in.
Securing the gate in cemetery
The final step was to add a support for the poles to stand upright on the grass. Home Depot sells rebar in various thicknesses. I found the thinnest one and bought one for each pole. The rebar was precut to about a foot each. Thin metal stakes would work well to if you can find any. The idea is to hammer the stake or rebar 1/4 of the way into the ground. Then just slip the end of the pole over the rebar. That will keep your poles up even through windier conditions.
Here is my cemetery yard haunt with a nice gate to keep everyone out. It doesn’t look too intimidating but definitely worked and was extremely cheap and easy to make!
