My stretch goal this year was to add LED spotlights to my Halloween yard haunt. It was a total gamble whether I’d be able to finish them in time for Halloween though. I’ve come to the conclusion that I must love stress because I decided what the hell. Let’s build them! Fortunately I found some great resources on how to build these. With a few parts from Amazon and a million trips to the hardware store I was able to build these pretty quick. Keep reading if you’d like see what I did so maybe you can too.
Aquire Your LED Parts
It was probably around Oct 15th when I finished my final Halloween prop for 2020. I was exhausted! My hands were already torn up from too much prop building and gardening. I put out my Gemmy spotlights in the yard haunt (which I still really love) but started thinking that the light looked a little too flat. If I built spotlights, my tombstones would have richer more concentrated light directed at them. But Halloween was only 2 weeks away. My poor hands told me NO but my greedy Halloween brain told me YES! I always listen to my Halloween brain.
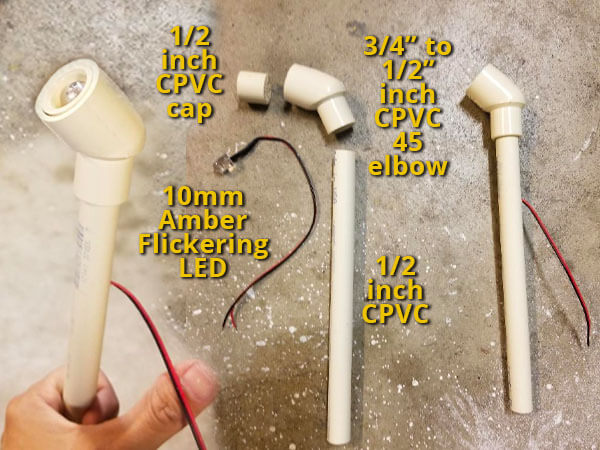
I scoured the internet for instructions on how to build spotlights. Fortunately I found some great ideas on Haunt The Yard website. I basically followed their instructions to build mine. First I counted there were about 14 spotlights that I’d need. So I went to Lowes and Home Depot to find the 1/2″ CPVC end caps, 1/2″ to 3/4″ 45 CPVC degree elbows, and 1/2″ CPVC hot water straight pipe. I must have gone there a million times to collect all these pieces because they never had the quantities I needed. I found the LED’s on Amazon. The ones I bought were from LED Lighthouse and are green and blue 10mm LED’s. The cool thing about these LED’s is they are already pre-wired so I didn’t have to mess with any resistor or capacitors to make them work.
Assemble And Build The Spotlights

Please note: I mistakenly labeled the LED in the image above as amber flickering but this is wrong. I used those for my candles. For the spotlights I used an assortment of green and blue 10mm LEDs. Forgive me. I’m just too lazy to fix the image.
I drilled a hole large enough for the LED wire to fit in the end caps. Then I tucked in an LED so it rested inside the cap. After that I cut the 1/2″ CPVC pipe into 1 foot lengths. I also used PVC cutters to cut an angle at the end of the pipe for the end that I’d stick in the ground. On the opposite end of the pipe I drilled a slot about 2 inches down so the wire could come out of the pipe. You can see an exploded version of the assembly above. But I wasn’t about to put white spotlights in my yard. So I took them apart and painted each piece.
Paint Your LED Spotlight Housings

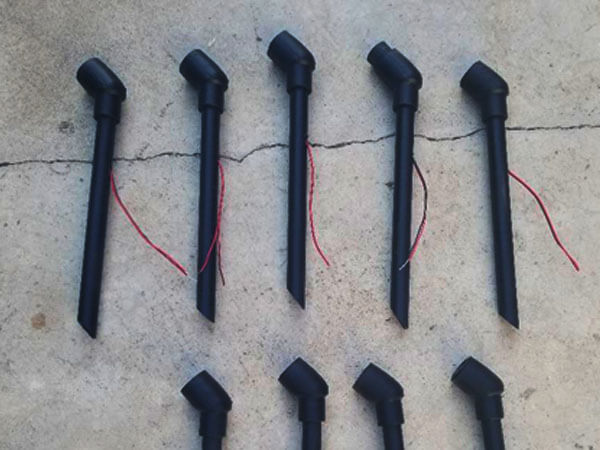
Sorry grass! I promise to feed and water you and make amends for accidentally spray painting you black. Oh well, it will grow out. But my spotlights do look sharp. I first used 60 grit sandpaper to sand the pipes so the paint would adhere better. Then I sprayed each piece with Rustoleum 2X flat black spray paint. Once dry I reassembled them and carefully pulled the wires out of the slot as shown in the image above. Now time to add them to the yard.
Add Your Spotlights To Your Halloween Display

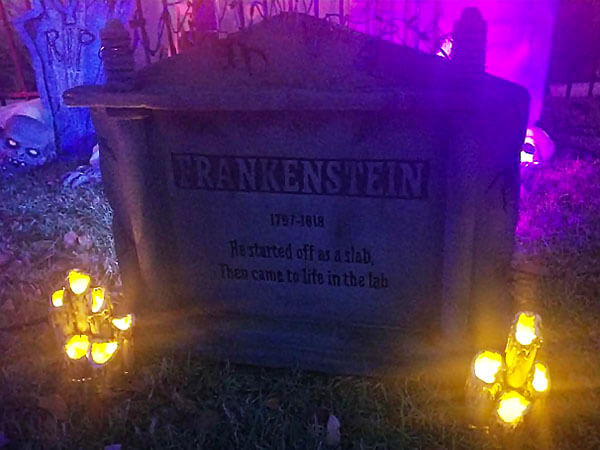
When I first looked at my graveyard display I realized some tombstones were too dark and others were way too bright. The addition of the spotlights would correct both of these issues. You can see above my Frankenstein tombstone is so dark you can’t really make out the nice details and epitaph. But the candles look cool! By the way you can read about how I made those here.

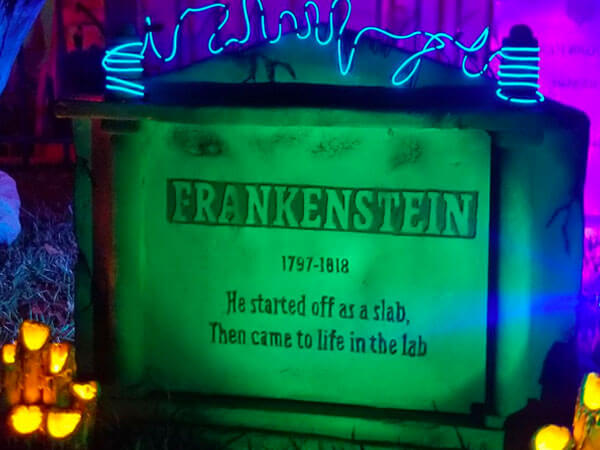
Viola! Let there be light! See how much better the tombstone looks? I just stuck the sharp end of the spotlight in the grass then angled it till it cast the best green light on the Frankenstein tombstone. I mixed them up so some tombstones are green and others are blue. The good thing about these spotlights is they can be wired to a 12volt power supply and the light itself won’t interfere with the yellow and orange color of the candles on the sides of the tombstone.
Well that’s it. A subtle change but incredible improvement in how my graveyard looks. In case you are interested in how I built the tombstones, you can read the article on How To Build Halloween Tombstones. I told you I love stress. Take your time with these and enjoy the process.


