So this year I wanted to start making my own Halloween props for the big night. Thing is, there are a ton of great websites out there. Where the heck do I begin? I started by making a wishlist of props that I would eventually like to build and realized there were some that required lots of time, tools and experience. Then I saw the one that looked the easiest and said…”Yep, that’s the one I’ll make first”. Turns out it was the glowing eyes effect which would be perfect for indoor bookshelves or spooky bushes outside. In this article I’ll show you how to make your very own sets of eerie glowing eyes.
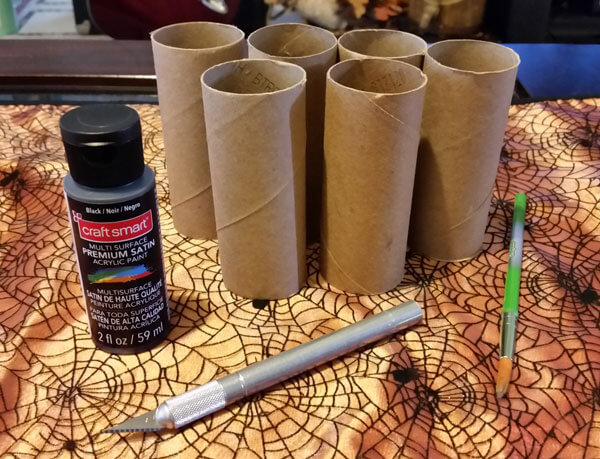
The list of items needed to build this prop is really small which is one reason I decided to make it first. As long as you poop (and I hope you do), you should already have the first item on the list below…empty toilet paper roll. The rest of the items can be purchased from any craft store like Michaels. Without further ado, here’s the list of stuff you’ll need.
- Toilet paper rolls
- Exacto knife
- Black paint (I used acrylic)
- Paintbrush
- Sheet of regular white paper
- Black pen & pencil
- Sheet of tracing paper
- Light source (glow stick, battery operated tea light, or custom led)
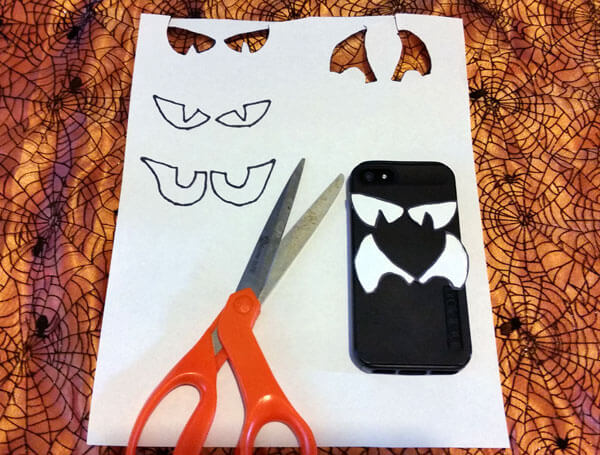
So the first step is the one that requires the most artistic talent for the whole project. Draw some spooky eyes on the white sheet of paper with a pencil. That way when you…I mean, if you mess up you can erase. There are lots of great looking spooky eye templates you can find by doing a search in Google. Once you have your eyes drawn out, trace over them with the black pen so you can see them better. Now cut them out with scissors. You can test how the eyes will look by placing the cutouts on a black surface. My phone is a great backdrop to test my first sets of eyes, don’t you think?
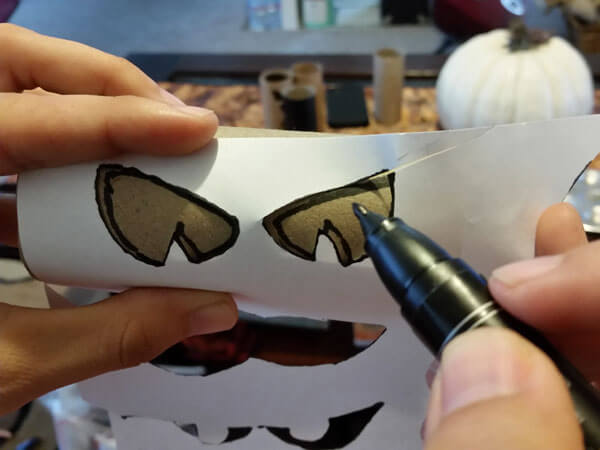
Then take the full sheet of paper and tape up the cuts to keep them from moving. You have just created your glowing eyes template. Now roll the paper around the toilet paper roll so you can trace the cutout onto the roll. Use the black pen to trace the eyes.
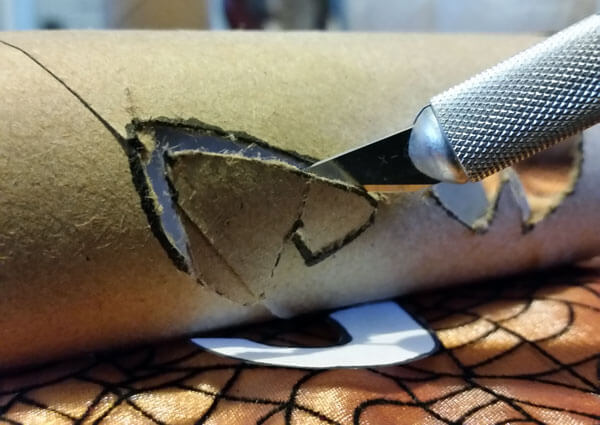
The next step is the most dangerous of the whole project. Use the exacto knife to cut away the eyes from the toilet paper roll. I found it easier to score the outline first on one black line to make it easier to cut into it afterwards. You can use the exacto like a mini saw to work your way around the eye. Don’t worry about the black outline. You will paint over this anyways. Just get the best eye shape you can. And please be careful! I managed to cut all my eyes with no injuries. (Wow…that sounded totally wrong. Let me try again). I cut all the spooky eyes out with no injuries. (Better). But I was also concentrating intently on this part. I lost the tip of my finger earlier this year (cooking accident) and don’t want to repeat that ever again!
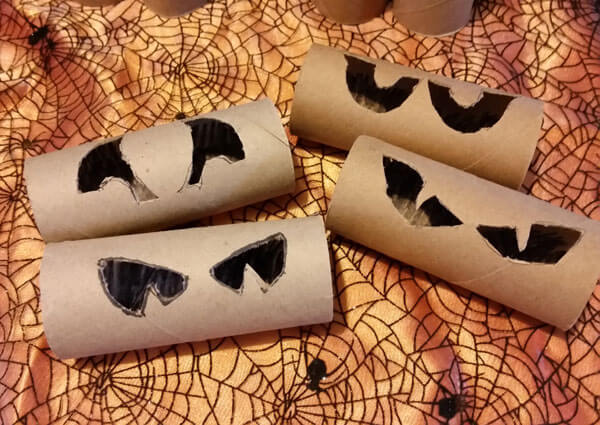
Okay, now lay out your completed eyes and admire your work! Ah…these goofy looking things are going to look great soon. Have faith!
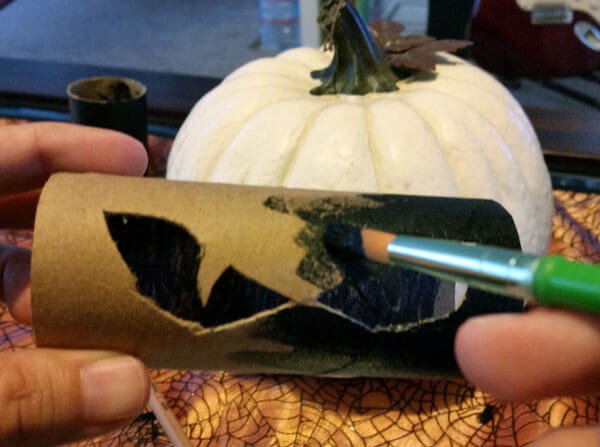
I decided to help camouflage the eyes when hiding them in the bushes, they should be dark. So I painted the outside of each tube. I’m not an expert on paints (yet) so I just used the leftover black acrylic paint I had from another project.
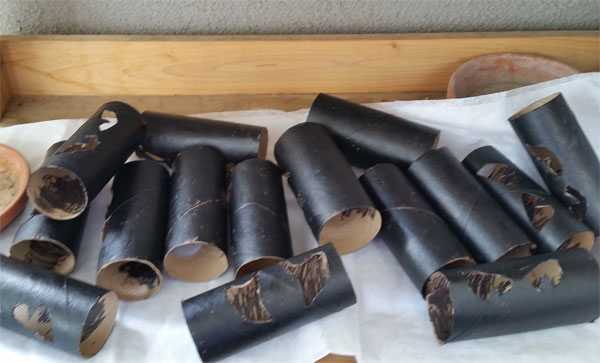
After painting each tube, I set them outside to dry. Damn there’s alot of them there. I was on a roll (get it…roll? Nevermind). Also you may notice in this picture that I had used a black marker on the inside of the tubes where the eyes would show through. This was an unnecessary step because I decided to cover the eyes with paper in the next step anyway.
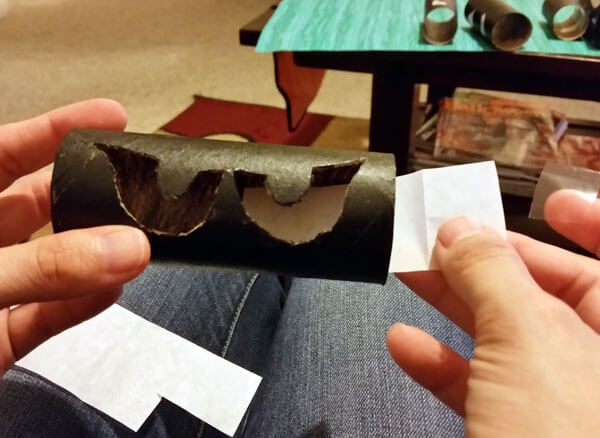
At first, I had tested the eyes out with a green glow stick. Although it looked pretty cool, I could totally see the glow stick inside. Meh…I wanted to hide the glow stick to make the eyes look more believable. I decided to use some sort of transparent paper for the eyes and settled on using tracing paper. The crazy thing is for all these rolls I only needed one sheet! I cut the sheet into these little strips and taped them inside each roll.
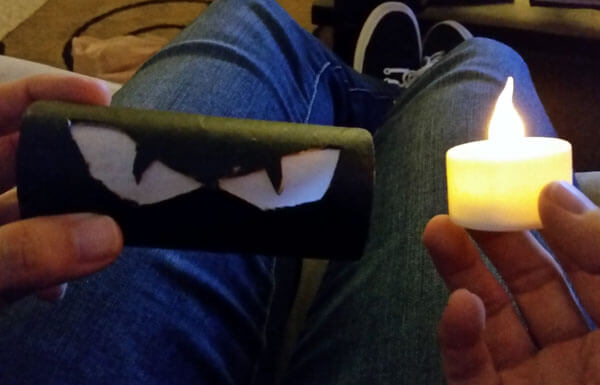
Now for the light source. The only problem with glow sticks is that you can only use them once. And even though you can find them for about .70 – .99 cents each, that still can add up for only one night on Halloween. I decided to explore other reusable options. My first test was the flameless tea light candles I had bought at Michaels.
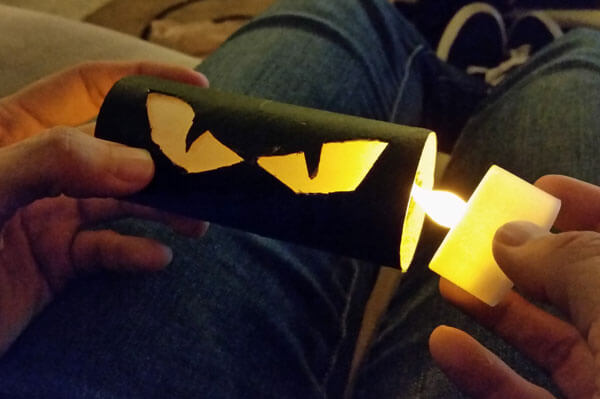
They already have this really cool flicker to them and fit perfectly inside the tube.
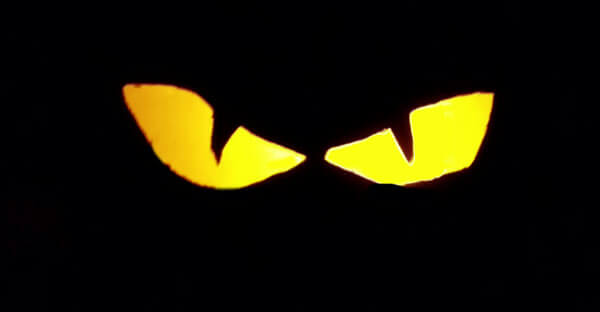
The result was perfect! The tea lights gave off a great amount of light through the eyes and looked spooky on a drawer in my bedroom. I think the only thing I’d like to add to them is to close off the ends to keep the light contained inside the tube. I’ll do a follow up post to show what I wound up using. Also I’d like to test out different colors for eyes. I tried putting one of those led plastic ice cubes and it almost fits inside. If I could build a little led light I could just pop one into each roll, close up the ends and voila! I’ll keep you posted on any updates to this prop, but even with the tea lights, your project will look incredible!


