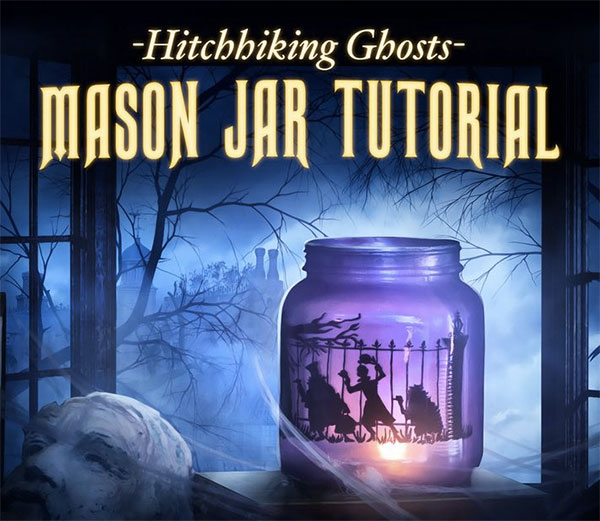
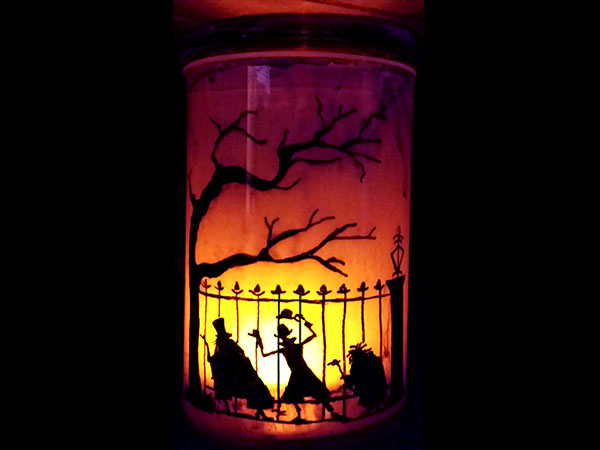
We are well into October now and I can’t stop thinking of Halloween. I love this time of year because it’s when I get the most creative. What got me really excited were finding so many incredible tutorials online on how to turn ordinary mason jars into really cool Halloween decorations. I couldn’t wait to try them out so early in October when Michael’s had a big sale, I picked up a bunch of mason jars cheap. I just completed four mason jars and will show you what I did with them. The one above is my favorite. Disney’s hitchhiking ghosts illuminate my jar with a flicker candle inside. You’d be surprised at how easy these and the other mason jars are to make. Honestly! I’ll show you what I did.
When I first saw the Disney mason jar tutorial, I was a bit skeptical. I thought I was going to have to draw the hitchhiking ghosts pattern on glass. Ummm…don’t really trust my drawing skills THAT much. However, after reading the instructions I felt like “Wait…I can do that! (I think?)” I had seen the instructions while looking through the Halloween category on Pinterest. When I saw The Hitchhiking Ghosts Mason Jar Tutorial, I was blown away. I mean this thing looked pretty high quality.

The tutorial on the Pinterest site is pretty self-explanatory and really easy to follow. I purchased a mason jar for this project that is a little bigger than an average jar. That way the image will fit and not wrap too much from your view. Also I wound up buying a Craftsmart Multi Surface Premium Oil-Based Paint Pen from Michaels. I had never used one of these pens before but it wrote perfectly on glass! I had first tried using a magic marker but it didn’t work at all. I printed out the hitchhiking ghosts stencil they had provided. Then I just measured the stencil in a jar to make sure it would fit. I also used the larger stencil. (My hands shake too much for the super fine pen stuff…I could never be a surgeon!) If you decide to make one of these, just be careful not to let too much of the purple paint drip out of the jar otherwise you’ll get some ugly streaking. That happened to my jar but it was in the back which doesn’t matter. It’s the front you want to keep looking good.

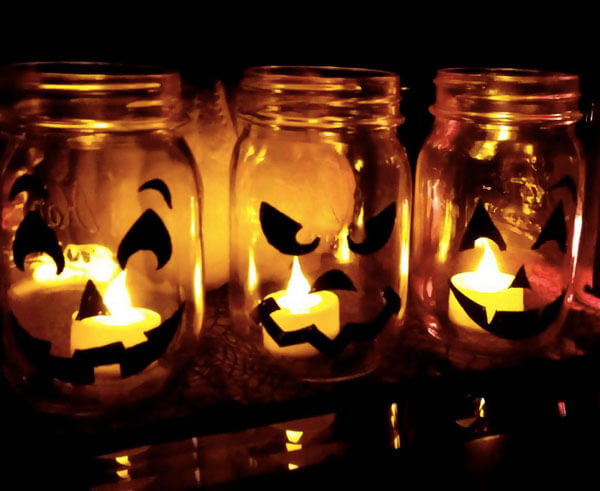
I’m pretty pleased with how my jar turned out! Even with the shaky hands I didn’t do too bad. Which means you could definitely make one for yourself! But that’s not all. I decided to make a few more mason jars for my mom. These were much easier to make but involved relatively the same steps for tracing a template on the glass. I made her three cute pumpkin face mason jars. (Much easier to trace!) When lit with a flicker tea light candle they look like this.

Pretty cool right? And I didn’t have to paint these at all. Just trace the pumpkin faces (I had created using Adobe Sketch) and fill in with the paint pen. Plop a candle in and your done! Well that’s the last mason jar project for this Halloween. But I’ll keep my eyes open for something else that looks really cool for next Halloween cause I have lots more mason jars!


